

How to use a trowel for tiling?-Mastering the Art of Tile Installation
【Linyi News】The question "How to use a trowel for tiling?" has become a trending search term across global construction platforms, reflecting the growing demand among professionals and DIY users for proper trowel techniques. Using a trowel correctly to control the thickness, direction, and consistency of tile adhesive is critical to ensuring both adhesion strength and aesthetic finish.
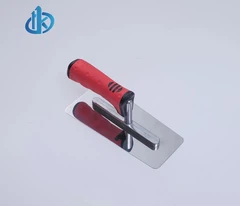
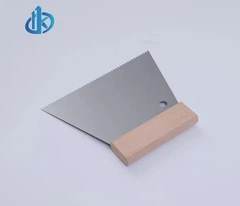
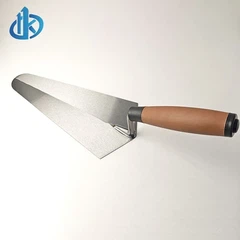
According to Hanke Tools, the trowel plays a key role in three steps: spreading, notching, and laying. First, adhesive is poured onto the surface and spread flat using the smooth edge of the trowel. Then, the notched side is held at a 45° angle to create consistent grooves. Finally, tiles are pressed firmly into the ridged adhesive, ensuring full contact and air removal.

Choosing the right trowel is essential. For small tiles, fine notches (e.g., 6×6mm) are preferred, while large tiles require wider notches (10×10mm or more) to ensure sufficient support.
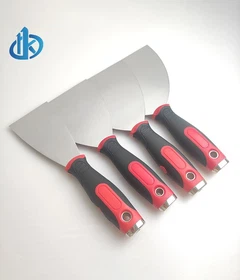
Hanke offers a full range of notched trowels with durable carbon steel or stainless steel blades and anti-slip rubber-plastic handles that remain reliable even in wet conditions.
For specialized areas like walls, floors, or bathrooms, various notch types such as "Euro notch" or "U-notch" may be more suitable depending on the tile and substrate. A test run before full installation is also recommended to optimize coverage and grip.
Hanke Tools continues to support tile professionals worldwide with high-performance tools and practical solutions tailored to real jobsite needs.


