Hey there! I'm a supplier of little wooden hammers, and I know how important it is to make these cute tools look their best. Staining a little wooden hammer can not only enhance its appearance but also protect the wood. In this blog, I'll share with you a step-by-step guide on how to stain a little wooden hammer.
Why Stain a Wooden Hammer?
First off, let's talk about why staining is a good idea. Staining the wood adds a layer of protection against moisture, which can prevent the wood from warping or rotting over time. It also gives the hammer a more professional and finished look. Whether you're using the hammer for a DIY project or selling it, a well-stained wooden hammer just looks better.
Materials You'll Need
- Wood Stain: There are different types of wood stains available, such as oil-based, water-based, and gel stains. Oil-based stains tend to penetrate the wood better and give a rich, deep color. Water-based stains are quicker to dry and have less odor. Gel stains are great for beginners as they're easier to control and don't drip as much.
- Sandpaper: You'll need different grits of sandpaper, starting from a coarse grit (around 80 - 100) to smooth out any rough spots on the wood, and then moving to a finer grit (180 - 220) for a smooth finish.
- Brushes: Get a few small, high-quality paintbrushes for applying the stain. Make sure the brushes are clean and free of any debris.
- Rags: You'll use rags to wipe off any excess stain and to apply the stain in some cases.
- Protective Gear: Wear gloves to protect your hands from the stain and a mask if you're using an oil-based stain with strong fumes.
- Drop Cloth: Lay a drop cloth down to protect your work surface from any spills or drips.
Step 1: Prepare the Hammer
Before you start staining, you need to prepare the wooden hammer. First, give it a good cleaning to remove any dust, dirt, or debris. You can use a damp cloth to wipe it down, but make sure it's completely dry before moving on.
Next, sand the hammer. Start with the coarse grit sandpaper to smooth out any rough areas, knots, or splinters. Sand in the direction of the wood grain to avoid scratching the surface. Once you've removed the major imperfections, switch to the finer grit sandpaper to give the wood a smooth finish. Wipe away any sawdust with a clean rag.
Step 2: Choose the Right Stain
As I mentioned earlier, there are different types of stains. Consider the look you want to achieve and the type of wood your hammer is made of. For example, if you have a light-colored wood like birch, you might want to choose a stain that enhances its natural color or gives it a warm, honey tone.
If you're going for a more rustic look, an oil-based stain with a dark color can work well. Water-based stains are a good option if you want a quick-drying and low-odor solution. Gel stains are great for creating a more even color and are less likely to drip on the handle of the hammer.
Step 3: Apply the Stain
Now it's time to apply the stain. Stir the stain well before using it to make sure the color is evenly distributed. Dip your brush into the stain, making sure to get an even amount on the bristles. Start applying the stain to the hammer, working in the direction of the wood grain. Apply the stain evenly, covering the entire surface of the hammer, including the head and the handle.
If you're using a gel stain, you can also use a rag to apply it. Simply dip the rag into the stain and rub it onto the wood in a circular motion. This can help the stain penetrate the wood more evenly.
Don't be afraid to apply multiple coats of stain if you want a darker or more intense color. Just make sure to let each coat dry completely before applying the next one. The drying time will depend on the type of stain you're using, so check the manufacturer's instructions.
Step 4: Wipe Off Excess Stain
After you've applied the stain, wait a few minutes for it to start soaking into the wood. Then, take a clean rag and wipe off any excess stain. This will help prevent the stain from drying unevenly and give the hammer a more professional look. Make sure to wipe in the direction of the wood grain to avoid streaks.
Step 5: Let It Dry
Once you've wiped off the excess stain, let the hammer dry completely. This can take anywhere from a few hours to a full day, depending on the type of stain and the humidity in your environment. Avoid touching the hammer while it's drying to prevent smudging or leaving fingerprints on the stained surface.
Step 6: Finish the Hammer
After the stain has dried, you can apply a finish to protect the wood and give it a smooth, shiny look. There are different types of finishes available, such as polyurethane, varnish, or wax. Polyurethane is a popular choice as it's durable and provides a good level of protection against scratches and moisture.

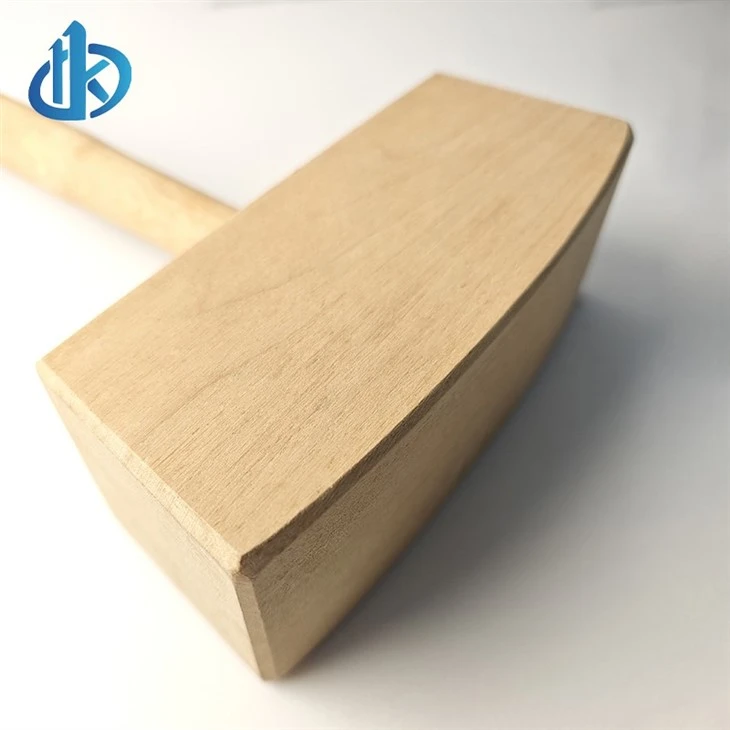
Apply the finish using a brush or a rag, following the same process as applying the stain. Make sure to apply the finish evenly and let it dry completely between coats. You may need to apply multiple coats of finish for a more durable and professional-looking result.
Additional Tips
- Test the Stain: Before you apply the stain to the entire hammer, it's a good idea to test it on a small, inconspicuous area of the wood. This will allow you to see how the stain looks on the wood and make any adjustments if needed.
- Work in a Well-Ventilated Area: Staining can produce fumes, especially if you're using an oil-based stain. Make sure to work in a well-ventilated area, such as a garage or outdoors, to avoid inhaling the fumes.
- Be Patient: Staining and finishing a wooden hammer takes time and patience. Don't rush the process, and make sure to follow the instructions carefully for the best results.
Our Little Wooden Hammers
As a supplier of little wooden hammers, we offer a wide range of high-quality products. If you're interested in our Large Wooden Mallet, Mallet Hammer, or Solid Birch Hammer, feel free to contact us for more information. We're always happy to discuss your needs and help you find the perfect wooden hammer for your project.
Whether you're a DIY enthusiast or a professional in the woodworking industry, our little wooden hammers are a great choice. They're made from high-quality wood and can be easily stained to match your style and preferences.
Conclusion
Staining a little wooden hammer is a fun and rewarding project that can enhance the appearance and durability of the tool. By following these steps and using the right materials, you can achieve a professional-looking result. If you have any questions or need more information about our little wooden hammers, don't hesitate to reach out. We're here to help you make the most of your woodworking projects.
References
- Wood Staining Basics, Wood Magazine
- How to Stain Wood, This Old House