
Using a putty knife on a ceiling requires a specific set of skills and techniques to ensure a smooth and professional finish. As a putty knife supplier, I've seen firsthand the importance of using the right tool for the job and following proper procedures. In this blog post, I'll share some tips on the proper way to use a putty knife on a ceiling, along with recommendations for the best putty knives for the task.
Preparing the Ceiling
Before you start using a putty knife on the ceiling, it's essential to prepare the surface properly. This involves cleaning the ceiling to remove any dust, dirt, or debris that could affect the adhesion of the putty. You can use a dry cloth or a vacuum cleaner with a brush attachment to clean the surface thoroughly.
Next, inspect the ceiling for any cracks, holes, or uneven areas. Fill these imperfections with a suitable patching compound using a putty knife. Apply the compound in thin layers, allowing each layer to dry completely before applying the next. Sand the patched areas smooth once they are dry to create a uniform surface.
Choosing the Right Putty Knife
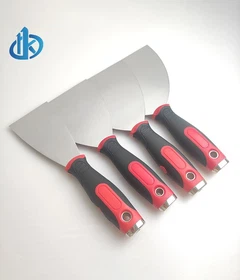
Selecting the appropriate putty knife is crucial for achieving a professional finish on the ceiling. There are several types of putty knives available, each designed for specific tasks. For ceiling work, I recommend using a wide putty knife with a flexible blade. This type of knife allows you to cover a larger area quickly and smoothly.
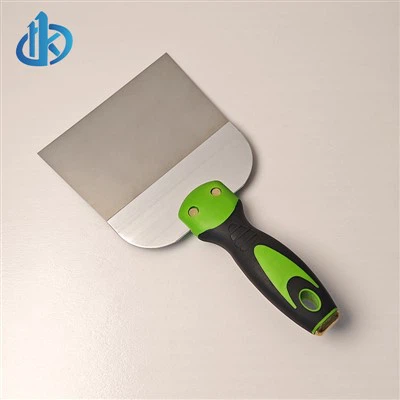
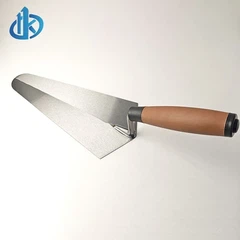
One of our popular products is the Rubber Handle Drywall Knife. It features a rubberized handle that provides a comfortable grip, reducing hand fatigue during extended use. The flexible blade is ideal for spreading putty evenly on the ceiling surface.
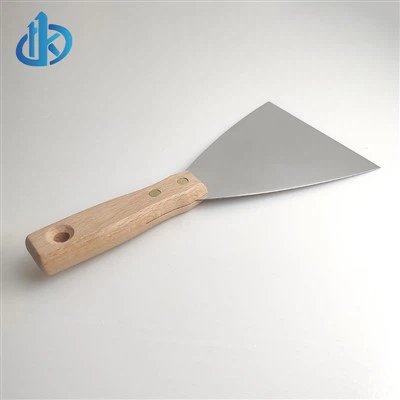
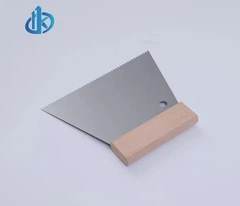
Another great option is the Durable Putty Knife. This knife is made from high-quality materials, ensuring long-lasting performance. The sharp edge of the blade allows for precise application of putty, making it perfect for filling small cracks and holes on the ceiling.
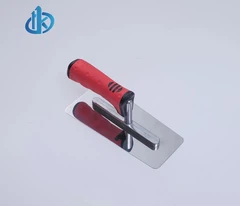
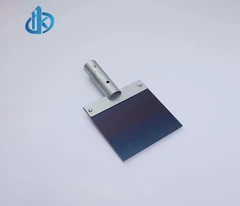
If you're working with a delicate ceiling surface, the Rubber Putty Knife is a great choice. The rubber blade is gentle on the surface, preventing scratches and damage. It's also ideal for applying a thin layer of putty for a smooth finish.


Applying Putty to the Ceiling
Once you've prepared the ceiling and chosen the right putty knife, it's time to start applying the putty. Begin by loading the putty onto the blade of the knife. Use a small amount of putty at a time to avoid overloading the blade. Hold the putty knife at a slight angle to the ceiling surface, with the blade parallel to the ceiling.
Start at one corner of the ceiling and apply the putty in a smooth, even motion. Use long, sweeping strokes to cover the surface quickly. Apply the putty in thin layers, working from one end of the ceiling to the other. Avoid applying too much pressure, as this can cause the putty to crack or peel.
As you apply the putty, use the edge of the knife to smooth out any ridges or bumps. Work the putty into the surface of the ceiling, filling in any gaps or imperfections. If you notice any air bubbles or uneven areas, use the putty knife to gently press them out.
Feathering the Edges
After applying the putty to the ceiling, it's important to feather the edges to create a seamless transition between the patched area and the surrounding ceiling. Feathering involves gradually thinning out the putty at the edges to blend it in with the rest of the surface.
To feather the edges, hold the putty knife at a very shallow angle to the ceiling surface. Use long, light strokes to gradually reduce the thickness of the putty at the edges. Work your way around the patched area, feathering the edges until they are smooth and blend in with the surrounding ceiling.
Sanding the Ceiling
Once the putty has dried completely, it's time to sand the ceiling to smooth out the surface. Use a fine-grit sandpaper or a sanding block to sand the patched area and the surrounding ceiling. Sand in a circular motion, applying light pressure to avoid sanding through the putty.
As you sand, check the surface regularly for smoothness. If you notice any rough spots or uneven areas, continue sanding until the surface is completely smooth. Wipe away any dust or debris with a dry cloth before applying a second coat of putty, if necessary.
Applying a Second Coat of Putty
In some cases, you may need to apply a second coat of putty to achieve a smooth and even finish on the ceiling. If the first coat of putty has dried and sanded smoothly, you can apply a second coat using the same technique as the first.
Before applying the second coat, make sure the surface is clean and free of dust. Apply the putty in the same way as before, using long, sweeping strokes and feathering the edges. Allow the second coat of putty to dry completely before sanding it smooth.
Painting the Ceiling
Once the putty has been sanded smooth and the surface is ready, you can paint the ceiling. Choose a high-quality ceiling paint that is suitable for the type of ceiling you have. Apply the paint using a roller or a brush, following the manufacturer's instructions.
Start by applying a primer to the ceiling to help the paint adhere better. Allow the primer to dry completely before applying the paint. Apply the paint in thin, even coats, working from one end of the ceiling to the other. Allow each coat of paint to dry completely before applying the next.
Maintenance and Care of Putty Knives
To ensure the longevity of your putty knives, it's important to take proper care of them. After each use, clean the putty knife thoroughly to remove any putty or debris. You can use a putty knife cleaner or a mild detergent and water to clean the blade.
Dry the putty knife completely before storing it. Store the knives in a dry place, away from moisture and humidity. Avoid storing the knives in a way that could damage the blade, such as stacking them on top of each other.
Conclusion
Using a putty knife on a ceiling requires patience, skill, and the right tools. By following the tips and techniques outlined in this blog post, you can achieve a smooth and professional finish on your ceiling. Remember to choose the right putty knife for the job, prepare the ceiling properly, apply the putty in thin layers, feather the edges, sand the surface smooth, and paint the ceiling with a high-quality paint.
If you're in the market for high-quality putty knives, we're here to help. As a leading putty knife supplier, we offer a wide range of putty knives to suit your needs. Contact us today to discuss your requirements and explore our product range. We look forward to working with you to achieve the perfect finish on your ceiling.
References
- "Drywall Installation and Finishing Guide" by John Doe
- "Home Improvement Handbook" by Jane Smith
- "Painting and Decorating Techniques" by Bob Johnson